How to cut a turkey with a knife is a question that many people, especially kitchen hobbyists, find daunting, particularly during the festive season. Cutting a turkey requires precision, patience, and a little bit of skill to ensure that you are left with beautifully carved slices. The process itself, while seemingly intimidating, can actually be quite straightforward if you follow some basic steps and use the proper tools.
In this detailed guide, we'll walk you through the steps necessary to carve a turkey, including the tools you'll need, the best techniques to use, and some handy tips and tricks to make the job easier. Whether you're a seasoned chef or a beginner in the kitchen, learning how to cut a turkey with a knife is a tremendous skill that will make your holiday feasts even more delightful.

Preparation Steps Before Cutting
Before diving into the meat of the task, preparation is crucial. Here's what you need:
Gathering Your Tools
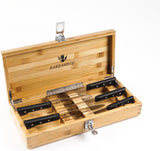
To cut a turkey effectively, you need the right tools. Here are the essentials:
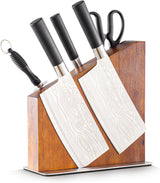
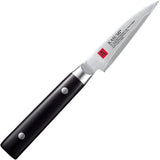
- Sharp Knife: A chef's knife or a carving knife is ideal. Make sure it is freshly sharpened.
- Carving Fork: Helps to hold the turkey steady while carving.
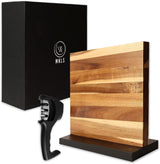
- Cutting Board: A large, sturdy cutting board will provide ample space and prevent any mess. Check out our article on dull knives to learn more.
- Paper Towels: Useful for wiping hands and managing any juices. For more safety tips, visit knife safety.
Resting the Turkey
Once the turkey is cooked, it's crucial to let it rest. This allows the juices to redistribute, resulting in a moister, more flavorful turkey. Resting should last about 20 minutes, depending on the size of the bird. Cover it loosely with aluminum foil during this time.

Step-by-Step Guide to Cutting a Turkey
Step 1: Removing the Legs
How to cut a turkey with a knife starts with identifying and separating its main parts. Begin by removing the legs. Use your knife to cut through the skin between the leg and the body. Bend the leg outward until the joint pops out, then cut through the joint to remove the leg completely.
Step 2: Carving the Thighs
Once the legs are off, separate the drumstick from the thigh. Hold the thigh with your carving fork and use your knife to cut along the bone, removing the meat. Repeat on the other side.
Step 3: Cutting the Turkey Breast
This is often considered the masterpiece of turkey carving. Start by making a deep cut along one side of the breastbone, following the contour of the ribcage. Continue to slice thin, even pieces diagonally across the grain for the best texture and flavor.
Step 4: Removing the Wings
Cut through the joint to remove each wing. Like with the legs, bend each wing back to easily locate the joint. Remove each wing individually and slice the meat off the bone if desired.

Additional Tips and Tricks
Keeping the Meat Warm
If you need to keep the meat warm while preparing other dishes, consider placing it in a warm oven (about 200F) until you're ready to serve. For more details on this, see our customers reviews.
Presenting Your Turkey
Presentation is key for any culinary masterpiece. Arrange the slices on a warm serving platter, grouping the breast meat, thigh meat, and drumsticks. Garnish with fresh herbs or citrus slices for a visually appealing touch.
Common Mistakes to Avoid
Rushing through the process or using a dull knife can turn a lovely turkey into a shredded mess. Take your time, ensure your knife is sharp, and follow the steps methodically. Practice makes perfect, and you'll find that each year you get better at carving your holiday turkey. Understand more about why glass cutting boards might not be the best choice.
Frequently Asked Questions
What type of knife should I use to cut a turkey?
A chef's knife or carving knife is recommended. Ensure it is sharp for clean and efficient cuts.
Can I use an electric knife?
Yes, an electric knife can make the job easier and is particularly useful for cutting through joints.
How do I keep my turkey moist after cutting?
Cover the sliced meat with aluminum foil and keep it in a warming oven at around 200F until ready to serve.
For additional tips and a detailed comparison of different knives, visit this helpful guide by Escoffier.
As an Amazon Associate, I earn from qualifying purchases.
