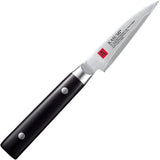
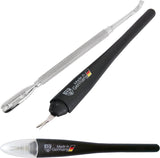
Removing nicks from a blade is an essential skill for every kitchen professional. Whether you're a seasoned chef or an enthusiastic home cook, maintaining the pristine condition of your blades is paramount. A blade with nicks not only impacts the quality of your cuts but can also lead to further damage if not addressed promptly. In this detailed guide, we'll explore how to effectively remove nicks from your blades and ensure they stay in top-notch condition.
Understanding Why Nicks Occur
Before diving into the process of removing nicks from a blade, it's crucial to understand why these imperfections happen. Blades may develop nicks due to various reasons, including improper use, accidental drops, or frequent contact with hard substances like bones or frozen food. Identifying the cause helps prevent future occurrences.
Essential Tools for Blade Nick Removal
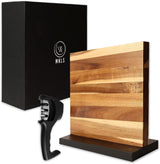
To restore your blade to its optimal condition, having the right tools is vital. You'll need a set of sharpening stones, preferably with different grit levels. Coarser stones help in initial nick removal, while finer stones are used for polishing. Additionally, a knife polishing kit can be beneficial to achieve that perfect finish.
Sharpening Stones: Grit Matters
When it comes to removing nicks from a blade, grit matters. Starting with a coarse stone (200-400 grit) helps in leveling out the nicks. Progressively moving to medium (800-1000 grit) and finally fine grit stones (3000-8000) ensures a smooth edge. For more on sharpening techniques, check out blade sharpening tips.
Step-by-Step Nick Removal Process
- Secure the Blade: Begin by securely holding your blade at a comfortable angle for sharpening. This prevents accidental slips.
- Start with Coarse Grinding: Gently rub the coarse grit stone against the nicked area in a sweeping motion, applying light pressure. This helps in grinding down the imperfection.
- Check Your Progress: Frequently check the blade to avoid over-grinding, which can lead to excessive wear.
- Move to Medium and Fine Stones: Once the major nicks are leveled, switch to medium, and finally fine stones to polish the edge.
- Final Touch: Use a leather strop or a finishing stone for the final polish, ensuring the blade's edge is razor-sharp.
Maintaining a Nick-Free Blade
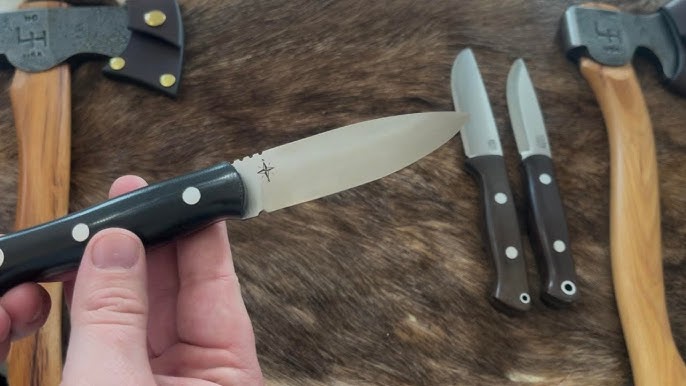
It's important to maintain vigilance in your blade care routine to prevent future nicks. Always use a cutting board and avoid using your knife on hard surfaces. Regularly sharpening your blades ensures they retain their edge. Explore more on fixed blade knife maintenance for consistent performance.

FAQs about Blade Maintenance
Can small nicks cause major problems?
Yes, even small nicks can lead to significant issues over time. They can catch on food or other materials, worsening the blade's condition and even causing injury.
How often should I check my blades for nicks?
Regular checks, ideally after every use, help in early detection of nicks. This ensures timely maintenance, keeping your knives in perfect condition.
Is professional sharpening necessary?
While regular personal maintenance is crucial, professional sharpening annually or bi-annually helps in achieving high precision and durability.
For more insights on knife care, visit fixed blade knife insights to broaden your understanding of blade dynamics.
This article contains affiliate links. We may earn a commission at no extra cost to you.
