The Ultimate Guide to Sharpening Your Kitchen Knife Set
Are you tired of struggling with dull knives in the kitchen? Do you want to learn how to sharpen your kitchen knife set like a pro? Look no further! In this comprehensive guide, we will walk you through the step-by-step process of sharpening your knives to perfection.
Why Sharpening Your Kitchen Knife Set Is Important
Before we dive into the details of how to sharpen your kitchen knives, let's first understand why it is important to keep them sharp.
1. Improved Performance: Sharp knives allow for precise and effortless cutting, making your cooking experience more enjoyable and efficient.
2. Safety: Dull knives are more likely to slip, leading to accidents and injuries. Keeping your knives sharp reduces the risk of accidents in the kitchen.
3. Longevity: Regularly sharpened knives have a longer lifespan. By maintaining the sharpness of your knives, you can extend their durability and save money in the long run.
Tools You Will Need
Before we get started, gather the following tools:
- Knife sharpening stone or whetstone
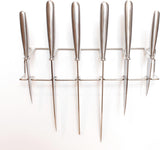
- Honing rod or sharpening steel
- Microfiber cloth or towel
Step-by-Step Guide to Sharpening Your Kitchen Knife Set
Step 1: Assess the Condition of Your Knives
Before you begin sharpening, inspect each knife in your set. Look for any chips, nicks, or damage that may require professional repair. If you notice any major issues, it is best to consult a professional knife sharpener.
Step 2: Choose the Right Sharpening Method
There are several methods to sharpen your kitchen knives, but the two most common ones are using a sharpening stone or a honing rod. The choice depends on the condition of your knives and personal preference.
Step 3: Sharpening with a Sharpening Stone
If you decide to use a sharpening stone, follow these steps:
- Place the stone on a stable surface, like a cutting board or countertop.
- Hold the knife at a 20-degree angle to the stone, with the blade facing away from you.
- Using light pressure, slide the blade across the stone in a smooth, sweeping motion. Repeat this process on both sides of the blade.
- Continue sharpening until you achieve the desired sharpness. Remember to maintain a consistent angle and apply even pressure.
- After sharpening, rinse the knife with water and dry it thoroughly with a microfiber cloth or towel.
Step 4: Honing with a Honing Rod
If you prefer to use a honing rod, follow these steps:
- Hold the honing rod vertically in your non-dominant hand.
- Hold the knife in your dominant hand and place the heel of the blade at the base of the rod.
- With light pressure, glide the blade down the length of the rod while maintaining a consistent angle.
- Repeat this process on both sides of the blade, alternating between sides.
- After honing, rinse the knife with water and dry it thoroughly.
Step 5: Test the Sharpness
Once you have finished sharpening and honing your knives, it's time to test their sharpness. Carefully slice through a piece of paper or a ripe tomato. If the knife glides through effortlessly, congratulations! Your knives are now razor-sharp.
Maintaining the Sharpness of Your Knives
Now that you have sharpened your kitchen knife set, it's important to maintain their sharpness for optimal performance. Here are a few tips to help you:
- Regularly hone your knives to realign the blade's edge.
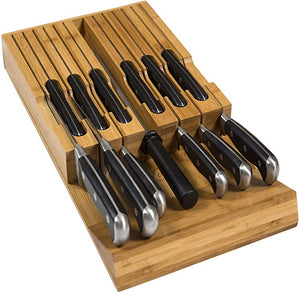
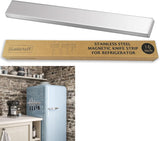
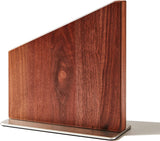
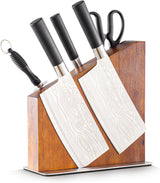
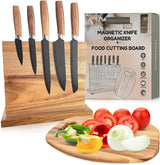
- Store your knives in a knife block or on a magnetic strip to prevent them from dulling.
- Hand wash your knives with mild soap and warm water, avoiding the dishwasher.
- Dry your knives immediately after washing to prevent rusting.
Conclusion
Sharpening your kitchen knife set is a valuable skill that every kitchen enthusiast should possess. By following the steps outlined in this guide and maintaining the sharpness of your knives, you can elevate your culinary experience and ensure safe and efficient food preparation. So, grab your sharpening tools and get ready to unleash the full potential of your kitchen knife set!
