The Ultimate Guide to Properly Care for and Maintain Your Chef Knives
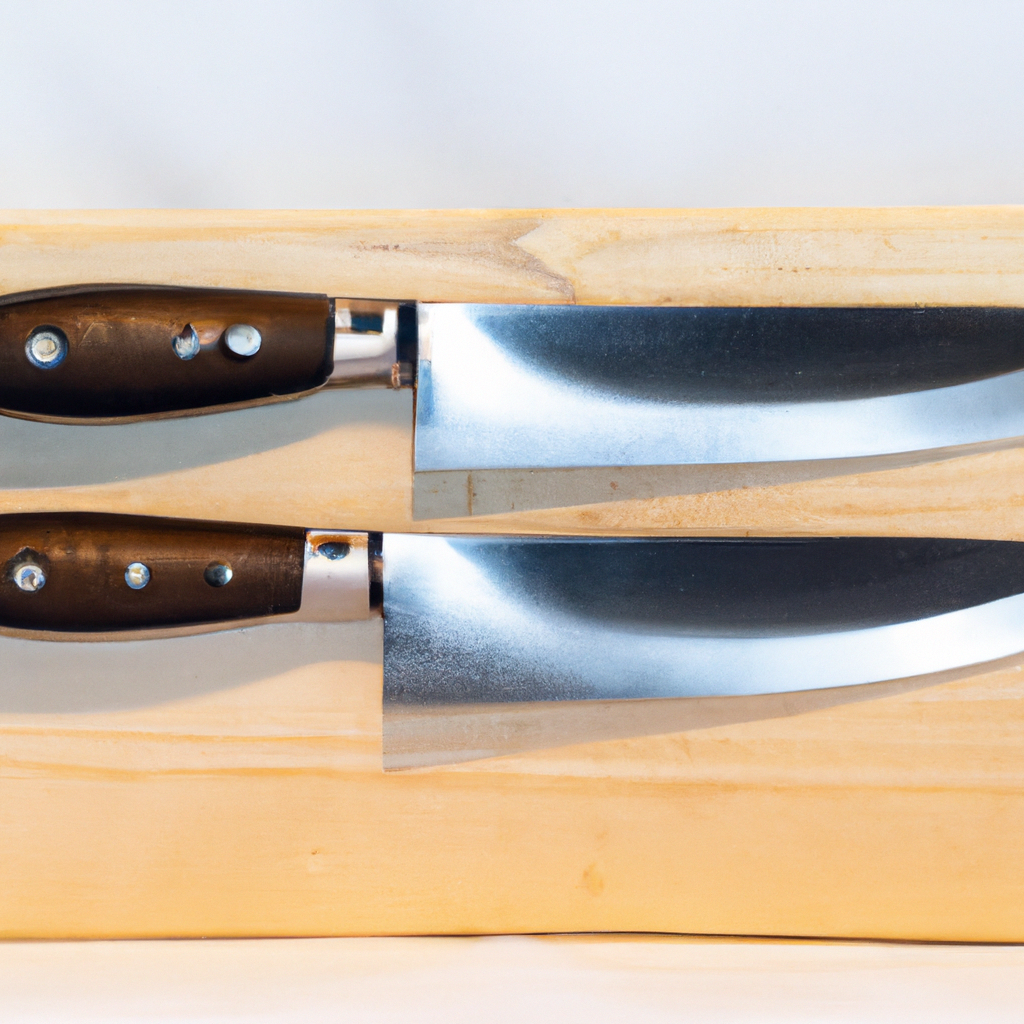
As a kitchen hobbyist, you know the importance of having a good set of chef knives. These versatile tools are essential for preparing meals with precision and efficiency. However, to ensure that your chef knives continue to perform at their best, it's crucial to properly care for and maintain them. In this ultimate guide, we will walk you through the steps to keep your chef knives in top shape.
Why Proper Knife Care is Important
Proper care and maintenance of your chef knives not only prolong their lifespan but also enhance their performance. Here are a few reasons why investing time in caring for your knives is worthwhile:
- Sharpness: Regular maintenance keeps your knives sharp, allowing for effortless cutting and slicing.
- Safety: A well-maintained knife reduces the risk of accidents in the kitchen.
- Durability: By taking care of your knives, you can prevent rust, corrosion, and other damage that can shorten their lifespan.
Step 1: Cleaning Your Chef Knives
The first step in caring for your chef knives is proper cleaning. Here's how to do it:
- Hand Wash: Always hand wash your chef knives with warm, soapy water immediately after use. Avoid using the dishwasher, as the harsh detergents and high heat can damage the blades.
- Drying: After washing, dry your knives thoroughly with a clean towel to prevent moisture buildup and potential rusting.
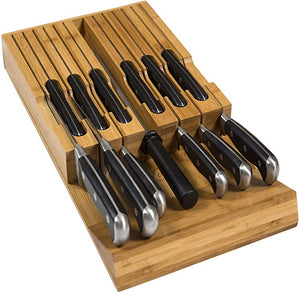
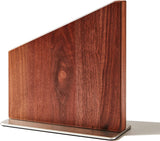
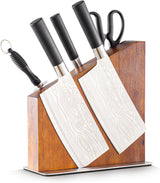
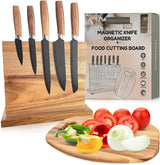
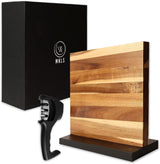
- Storage: Store your knives in a knife block or on a magnetic strip to protect the blades and prevent accidents.
For more detailed instructions on cleaning your chef knives, check out this guide on knife cleaning.
Step 2: Honing Your Chef Knives
Honing is the process of realigning the edge of the blade, keeping it sharp and straight. Here's how to hone your chef knives:
- Use a Honing Steel: Hold the honing steel vertically with the tip resting on a stable surface. Place the heel of the knife against the top of the steel at a 20-degree angle.
- Swipe the Knife: With light pressure, swipe the knife down the steel in a sweeping motion, from the heel to the tip. Repeat this process on both sides of the blade several times.
- Test the Sharpness: After honing, test the sharpness of your knife by slicing through a piece of paper. If it glides effortlessly, your knife is properly honed.
For a visual demonstration of how to hone your chef knives, watch this video tutorial on knife honing.
Step 3: Sharpening Your Chef Knives
While honing helps maintain the sharpness of your chef knives, regular sharpening is necessary to restore their cutting edge. Here's how to sharpen your knives:
- Choose a Sharpening Method: There are various sharpening methods, including whetstones, sharpening rods, and electric sharpeners. Select the method that suits your preference and skill level.
- Follow the Instructions: Each sharpening method has specific instructions. Read and follow them carefully to achieve the best results.
- Test the Sharpness: After sharpening, test the sharpness of your knife by slicing through a piece of paper. If it cuts smoothly without tearing, your knife is properly sharpened.
For more information on sharpening your chef knives, refer to this guide on knife sharpening.
Step 4: Proper Knife Storage
Proper storage is essential to protect your chef knives and prevent accidents. Here are a few tips:
- Knife Block: Store your knives in a knife block, keeping the blades safely tucked away.
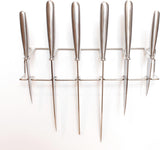
- Magnetic Strip: Use a magnetic strip mounted on the wall to store your knives, providing easy access and visibility.
- Knife Guards: Consider using knife guards to protect the blades when storing them in a drawer or traveling with them.
Conclusion
Caring for and maintaining your chef knives is crucial for their longevity and performance. By following the steps outlined in this guide, you can keep your knives sharp, safe, and in top condition. Remember to clean your knives properly, hone them regularly, sharpen when necessary, and store them appropriately. With proper care, your chef knives will continue to be your trusty companions in the kitchen for years to come.
