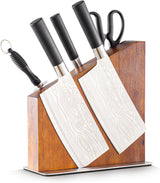
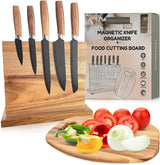
It's no secret that kitchen knives made in the USA are some of the best kitchen knives you can buy. But what about keeping them sharp and ready for use? In this article, we'll discuss how to sharpen kitchen knives made in the USA, including tools you'll need and techniques to achieve a razor-sharp edge that will stay with you for years. We'll also take a look at the history and characteristics of Damascus kitchen knives, the highest quality blades among USA-made kitchen knives. So read on and get ready to learn about sharpening kitchen knives made in the USA!
What are Damascus Kitchen Knives?
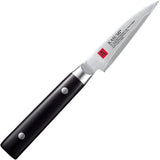
Damascus kitchen knives are crafted using a centuries-old technique of combining multiple layers of steels to create a single blade. This process gives the knives their one-of-a-kind patterns, and adds to the strength and sharpness of the blade. Their overall beauty and precision make them some of the most sought-after kitchen knives in the world today - and when properly maintained, they can last a lifetime.
The Tools You'll Need to Sharpen Kitchen Knives Made in the USA
To sharpen kitchen knives made in the USA, you'll need a few essential tools to get started. The most important item on your list is a sharpening stone, which is the best way to sharpen kitchen knives by hand. A sharpening stone is a flat block made of natural or synthetic abrasive materials. The stone will have two sides - a coarse side and a fine side. Choose a stone with a grit rating of 1000 or higher, as this will allow you to hone and polish the knife to an exceptional level of sharpness.
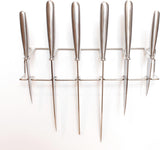
In addition to the sharpening stone, you'll also need a honing steel or rod to realign the knife's edge after it's been sharpened. This tool's smooth surface helps to smooth out any micro-serrations that may have developed in the blade during use. A honing rod can be made from steel, diamond, ceramic, or plastic, and should be used with a light touch to avoid damaging the blade.
Finally, you'll need a cloth, preferably one made of microfiber or leather, for polishing and protecting the blade. This will help to keep the blade clean, prevent rust formation, and reduce friction while cutting.
Step-by-Step Instructions for Sharpening Kitchen Knives Made in the USA
When it comes to sharpening kitchen knives made in the USA, the most important thing to keep in mind is that patience is key. This is a task that requires careful and consistent effort, so be sure to take your time and give each step its due attention.
1. Begin by wetting the sharpening stone with water. You may also use honing oil or a lubricant of your choice.
2. Place the blade at a 25-degree angle on the coarse side of the sharpening stone.
3. With light pressure, draw the knife blade across the stone in a back-and-forth motion. You may want to do this in six quick strokes for each side, or you may increase the number of strokes for a more precise sharpening.
4. After sharpening both sides of the blade on the coarse side of the stone, switch to the fine side and repeat the same process.
5. Once the blade has been sharpened, use the honing steel to realign the edge. To do this, hold the steel vertically in one hand and the knife in the other. Begin at the base of the blade and draw it up and across the honing steel in a smooth motion. Repeat this process three or four times for both sides of the blade.
6. Finally, use the cloth to buff the blade and remove any residual burrs that may have formed during sharpening.
Conclusion
Kitchen knives made in the USA are coveted for their beauty and precision, and it's important to take care of them by keeping them sharp and ready to use. In this article, we discussed the tools and techniques for sharpening these knives, as well as the unique characteristics of Damascus kitchen knives. We hope these instructions make it easier to keep your kitchen knives in tip-top shape for many meals to come.
