Creating an end grain cutting board is an art form that reflects both practicality and craftsmanship. It's a project that not only serves in a functional capacity but also adds aesthetic value to any kitchen. In this **guide**, we delve into the intricate details of how to make end grain cutting board that will serve you well in your culinary adventures.
End grain cutting boards are preferred by many kitchen professionals for their durability and ability to self-heal from knife marks. A well-made cutting board allows chefs to work more efficiently, and it certainly adds a touch of elegance to any kitchen setup. Whether you're a seasoned woodworker or a kitchen professional looking to dive into the world of woodworking, this guide will walk you through the entire process.
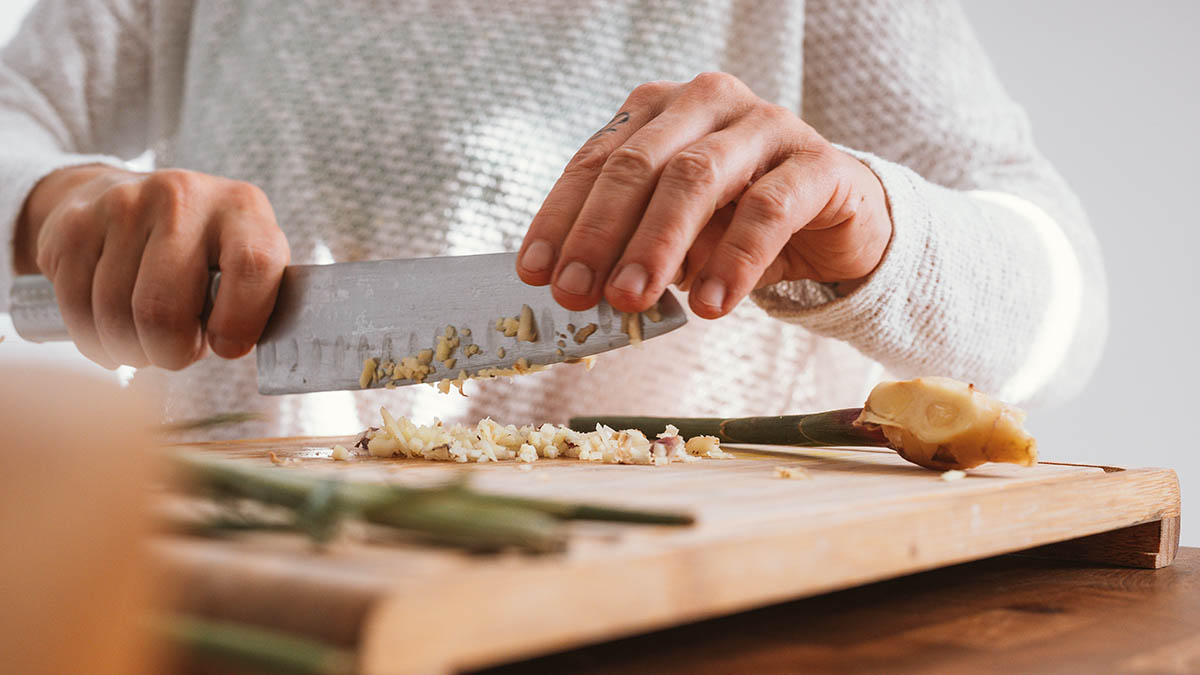
Understanding End Grain Cutting Boards
Before we dive into the how to make end grain cutting board process, it is important to understand what it is and why it is advantageous. An end grain cutting board is made by arranging the wood pieces so that the grain is standing vertically. This construction method absorbs the impact from chopped food, making it less damaging to the knife.
Moreover, due to this construction, the fibers of the wood can close up after being cut, reducing the visibility of the knife marks on the surface. This contributes to its durability over time and makes it less prone to warping compared to other types of cutting boards.
Materials Needed for Your Project
- Hardwoods: Choose dense hardwoods like maple, walnut, or cherry for longevity.
- Wood Glue: A strong adhesive that is safe for food items.
- Clamps: Necessary for holding the wood in place as the glue dries.
- Finish: Food-safe mineral oil or a cutting board finish to protect the wood.
- Tools: You will need a table saw, planer, sander, and a bandsaw.
Steps to Make an End Grain Cutting Board
Now that we have a basic understanding of what makes an end grain cutting board special, lets go through the steps to create one.
Step 1: Select Your Wood
Your first task is to select high-quality hardwood. Consider woods like maple, walnut, and cherry for their fantastic aesthetic and practical features. They are less likely to harbor bacteria, making them ideal for food preparation. Also, the density of these woods contributes to their durability.
Step 2: Cut the Wood Into Blocks
Once you've selected your wood, cut it into blocks. Keep the size of the blocks uniform so that they fit together neatly later. Aim for dimensions around 1.5 inches square, as this size allows for effective food handling while also being manageable.
Step 3: Glue the Blocks Together
Use a high-quality wood glue to bond the blocks together. Apply glue liberally to the edges of the blocks and press them together firmly. Make sure to align them precisely for a seamless finish. After placing them together, use clamps to hold the pieces tightly while the glue curestypically requiring 24 hours. For more on how to care for your wooden cutting board, check out wooden cutting board care.
Step 4: Trim and Flatten the Board
Once the glue has dried, it's time to trim the board to its final shape. Use a table saw to trim the edges and make the board even. Then flatten the surface using a planer. Make sure the entire surface is leveled, as this will affect the cutting performance.
Step 5: Sand the Edges
Sanding is an essential step in the how to make end grain cutting board process. Use progressively finer sandpaper to smooth the edges and surface. Start with a coarse grit and move to fine. This helps remove any glue residue left on the surface and prepares the cutting board for finishing.
Step 6: Apply Finish
Apply a food-safe finish like mineral oil to protect the wood and enhance its natural beauty. For better penetration, warm the oil slightly before application. Wait for the finish to absorb, adding another coat if necessary. For more information on sealing techniques, you can read about sealing wood cutting boards.
Step 7: Final Touch-ups
Once the finish is dry, do a final check to ensure everything is smooth. Make any necessary touches to perfect the board. You now have a beautiful and functional end grain cutting board!
Benefits of Using End Grain Cutting Boards
Why should you choose an end grain cutting board over others? Here are some key benefits:
- Durability: End grain cutting boards are incredibly durable thanks to their wood orientation.
- Knife Friendly: They are gentle on your knives, helping to keep them sharper for longer.
- Self-Healing: The fibers of the wood will close after cuts, making marks less visible.
Care and Maintenance of Your End Grain Cutting Board
To ensure your end grain cutting board lasts a long time, proper maintenance is crucial. Here are some tips:
- Regular Oiling: Apply mineral oil regularly to keep the wood hydrated.
- Cleaning: Avoid soaking your board; wash it with mild soap and water only. For detailed cleaning procedures, refer to washing wood cutting boards.
- Avoid Dishwashers: Never place your wooden cutting board in a dishwasher as it can warp the wood.
Conclusion
Knowing how to make end grain cutting board is not only a valuable skill but also a rewarding experience. With the right materials, tools, and patience, you can create a cutting board that will enhance both your kitchen's functionality and aesthetics. Remember to take care of your cutting board by following maintenance tips to prolong its life and beauty.

FAQs
1. What types of wood are best for an end grain cutting board?
The best options include hardwoods like maple, walnut, and cherry.
2. How often should I oil my cutting board?
It's recommended to oil your cutting board once a month or as needed based on usage.
3. Can I use a dishwasher to clean my wooden cutting board?
No, you should never place a wooden cutting board in a dishwasher, as it may cause damage.
As an Amazon Associate, I earn from qualifying purchases.
