Creating a live edge cutting board is an engaging and rewarding project that resonates with kitchen professionals looking to enhance their culinary spaces. This artistic piece possesses its own unique character and beauty, offering not just functionality but also a centerpiece that adds personality to your kitchen. In this guide, we'll explore how to make a live edge cutting board while ensuring quality craftsmanship from start to finish.
For any kitchen professional, a cutting board is essential. But why opt for a live edge variant? They are visually striking and bring the natural beauty of wood into your culinary realm. Using different types of wood adds a rich variety to your kitchen aesthetic, making it not just a tool, but a statement.
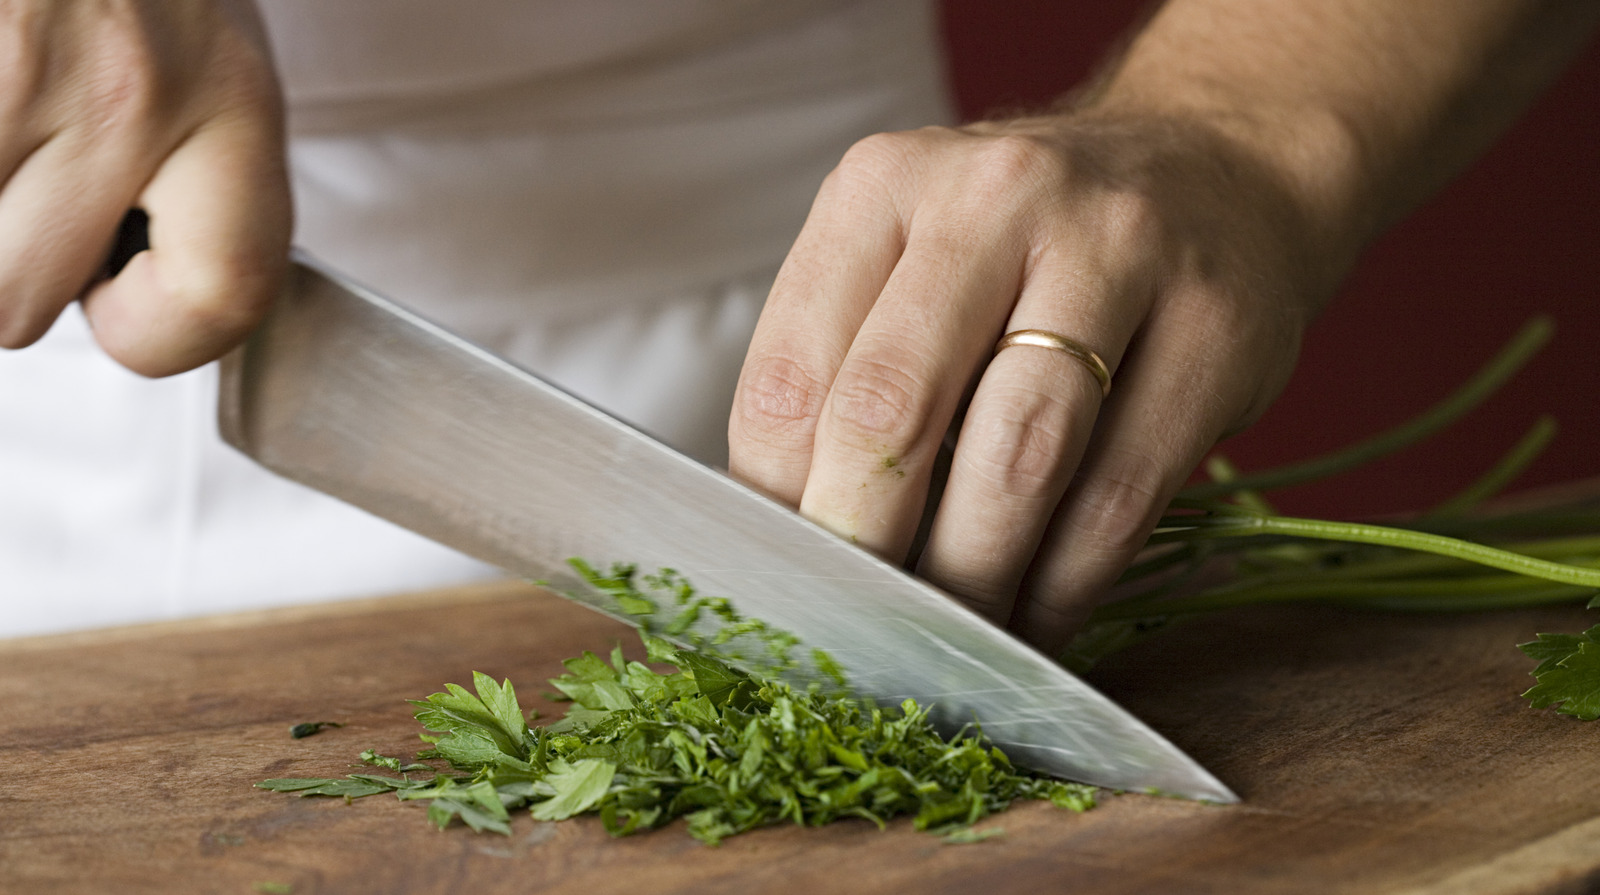
Choosing the Right Wood for Your Board
The choice of wood is pivotal when learning how to make a live edge cutting board. Here are some popular options:
- Walnut: This dark and rich hardwood is known for its durability and stunning appearance.
- Maple: A classic choice thats tough on knife edges yet gentle enough for food.
- Cherry: This wood has a beautiful aging process, developing a deep, reddish hue over time.
Gathering Your Tools and Materials
Before delving into the project, ensure you have the necessary tools and materials:
- Wood of your choice
- Table saw or circular saw
- Sandpaper (various grits)
- Food-grade mineral oil or wood finish
- Clamps
- Router (for decorative edges)
Preparing the Wood
Once youve selected the wood, its time to prepare it:
- Cut the Wood: Measure and cut the wood to your desired dimensions using a table saw. Remember to maintain the live edge on one side.
- Sand the Surface: Using sandpaper, smooth the surface to prevent any splinters. Start with a coarse grit and gradually move to a finer grit for a polished finish.
- Shape the Edges: If desired, use a router to shape the edges or create a groove for a unique finish.
Assembling Your Cutting Board
For those making a larger board, you may want to join pieces of wood together:
- Glue the Pieces: Apply wood glue to the edges, clamp them together, and allow them to set according to the glue's instructions.
- Sand Again: After the glue has dried, sand the entire surface, including the live edge.
Finishing Touches
The finish is critical for both aesthetics and protection:
- Apply Oil: Use food-grade mineral oil to treat the wood, enhancing its natural beauty while protecting against moisture.
- Maintenance: Regularly re-oil your cutting board to keep it in top condition.
Cleaning and Sanitizing Your Live Edge Cutting Board
After creating, maintaining cleanliness is essential. Learn from the resource provided in sanitizing cutting boards. Also, remember to choose the right cleaning approach depending on the type of wood. A well-maintained cutting board can last for years.
Additional Tips for Kitchen Professionals
As you embark on crafting your live edge cutting board, consider these pro tips:
- Choose a unique shape for your board that fits your kitchen style.
- Dont shy away from experimenting with different wood species.
- Customize with carvings or engravings for a personal touch.

Frequently Asked Questions
1. Can I use a live edge cutting board for raw meat?
Yes, but be cautious and sanitize properly as per guidelines. It is advisable to have separate boards for meat and vegetables. For more insights on proper usage, check out this cutting board guide.
2. How do I remove stains from my live edge cutting board?
You can use a mixture of baking soda and water to scrub the stains away gently. For deep cleaning ideas, refer to wooden board cleaning tips.
3. How often should I oil my cutting board?
Oil your cutting board every month or whenever it appears dry. Keeping it well-oiled ensures durability.
As an Amazon Associate, I earn from qualifying purchases.
