Creating your own cutting board can be a rewarding project, especially when you learn how to make a cutting board with different woods. This not only allows you to customize the size, shape, and design according to your preference, but it also gives you a functional and beautiful tool for your kitchen. Whether you are a kitchen professional or an enthusiastic amateur, crafting a unique cutting board can elevate your kitchen game.
Before diving into the specifics, its essential to understand the different types of wood suitable for cutting boards. Each wood type has its unique characteristics, including hardness, grain patterns, and maintenance needs. In this article, we will guide you through everything you need to know to create a stunning cutting board using various woods.
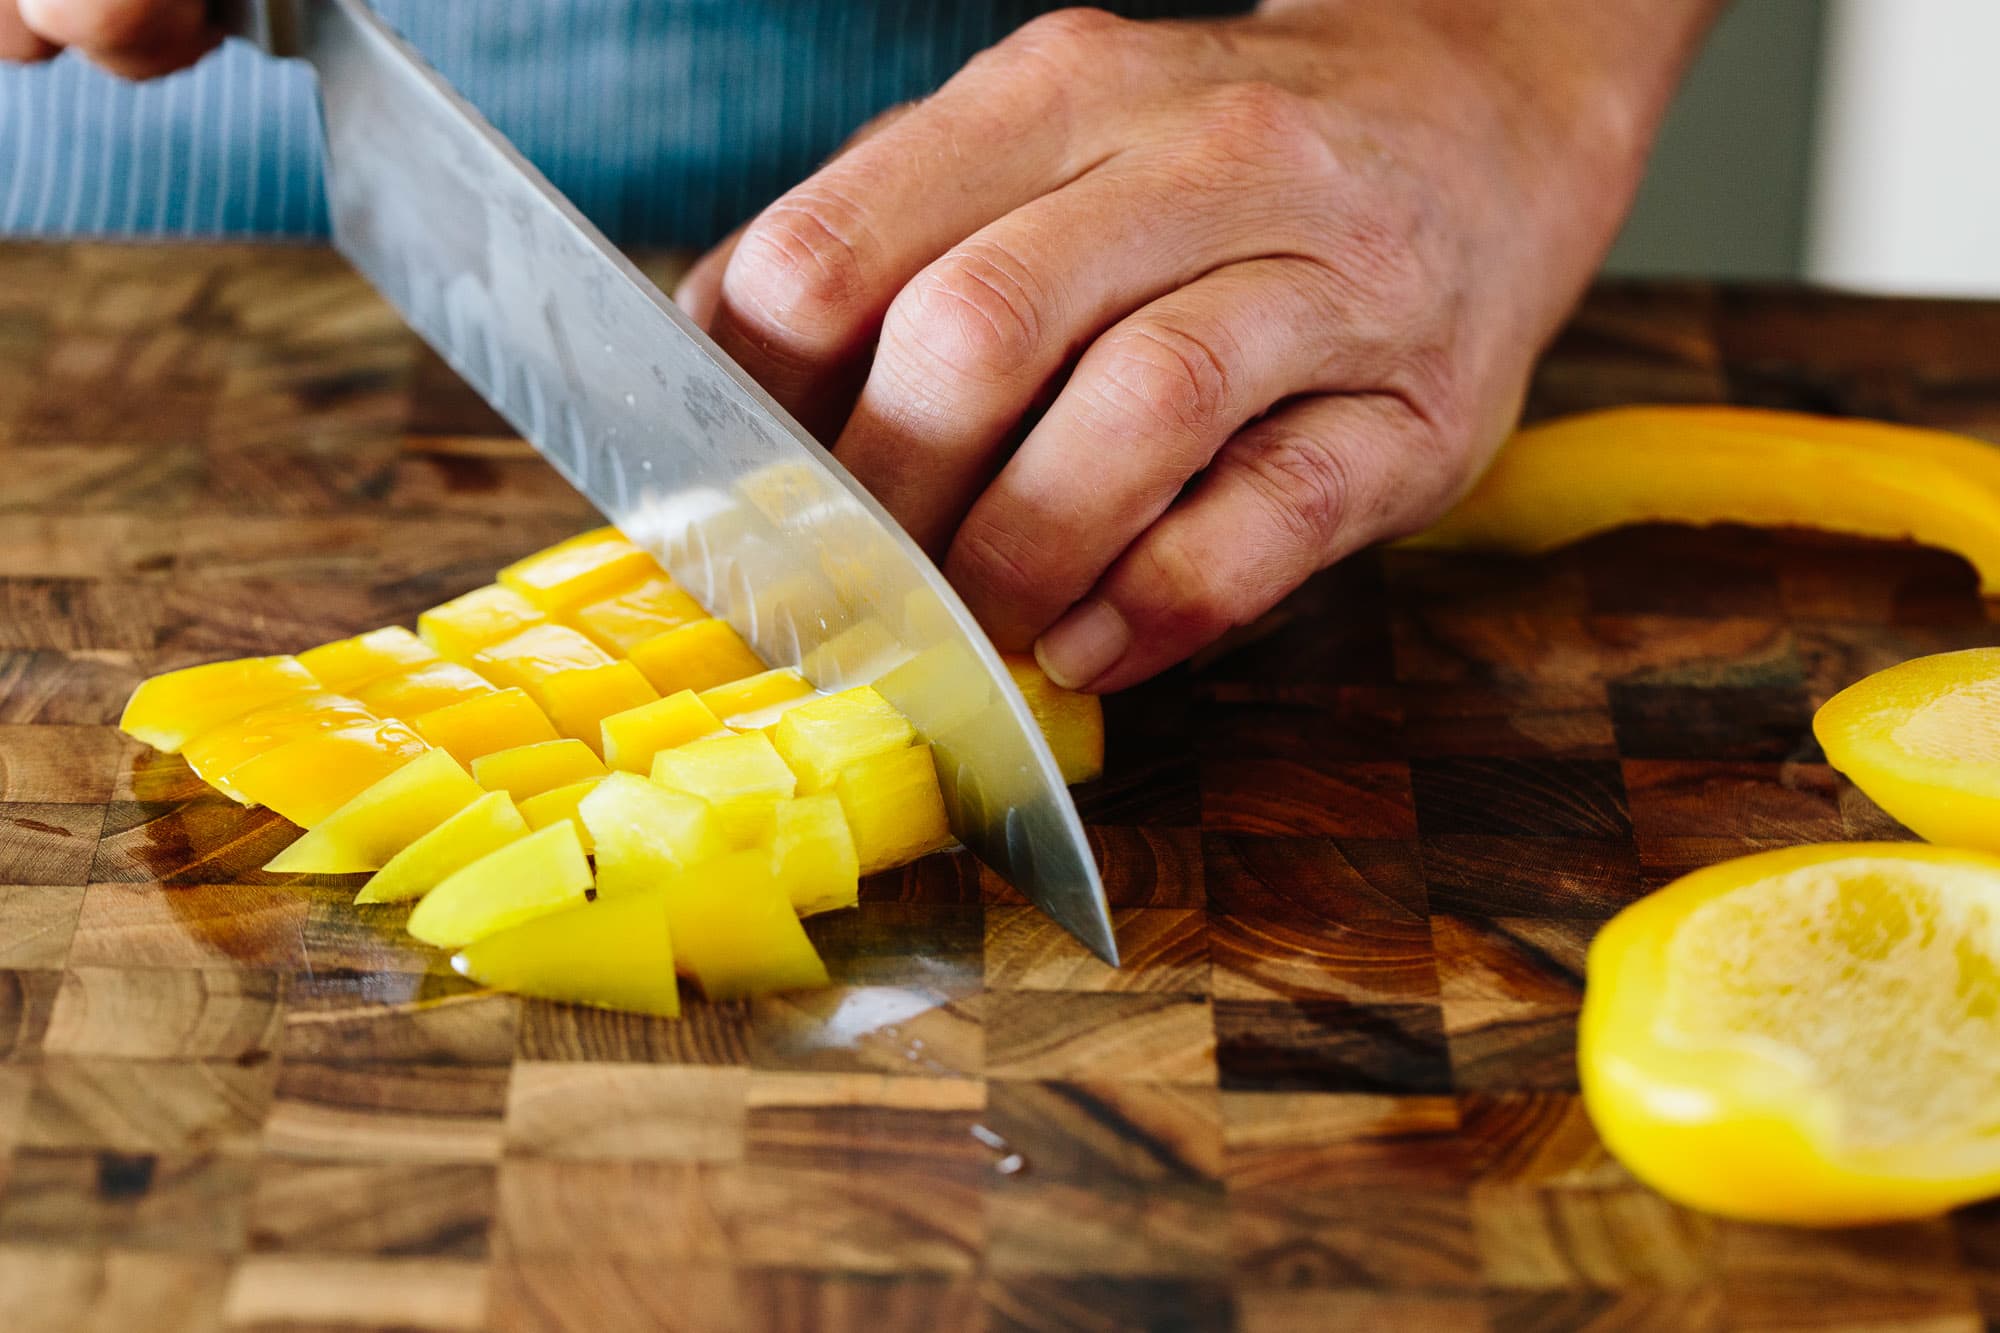
Why Create Your Own Cutting Board?
Making your own cutting board offers numerous advantages. Not only can you tailor it to meet your unique kitchen needs, but you also have control over the aesthetics. You can mix different types of wood to make the board more visually appealing. Furthermore, by using quality wood, you can ensure longevity and durability.
Choosing the Right Woods
When selecting wood for your cutting board, consider the following popular types:
- Maple: Known for its durability and fine grain, maple is a classic choice.
- Walnut: Offers a rich, dark appearance, and it's gentler on knife blades.
- Bamboo: A sustainable option that is lightweight and resistant to knife cuts.
- Cherry: Has a warm hue and smooth texture, making it visually appealing.
It's crucial to avoid soft woods like pine as they can harbor bacteria and get damaged easily. For more essential information on cutting board materials, check out Cutting Board Safety.
Essential Tools and Materials
Before you start, gather the essential tools and materials:
- Saw: Table saw or circular saw for cutting wood pieces.
- Glue: Food-safe wood glue to bond the pieces together.
- Sanding Tools: Sandpaper and an orbital sander for smoothing the surfaces.
- Finish: Food-safe mineral oil or beeswax for protection.
Step-by-Step Guide to Crafting Your Cutting Board
Now that you have the tools ready, lets get into the process of making your cutting board:
Step 1: Design Your Board
Sketch out the design for your cutting board. Will it be rectangular, round, or a custom shape? Determine the dimensions based on your kitchen space and usage. Mixing various woods can create stunning patterns. Consider using contrasting colors for a unique look.
Step 2: Cut Your Wood
Using your saw, cut the chosen woods into the desired dimensions and shapes as per your design. Remember to wear protective gear when operating power tools.
Step 3: Assemble the Pieces
Arrange the cut pieces according to your design. Make sure the wood grains alternate for aesthetics. Apply food-safe wood glue between the pieces, press them together, and secure with clamps. Allow the glue to set as per the manufacturer's instructions.
Step 4: Sanding
After the glue has cured, carefully remove the clamps. Start sanding the board from coarse to fine grit sandpaper. This process smoothens out the surface and edges, making your board safe to use. Dont forget to sand the edges to prevent splinters.
Step 5: Finishing Touches
Once you are satisfied with the sanding, apply a generous coat of food-safe mineral oil to protect and enhance the wood's appearance. Allow it to soak in for a few hours, and wipe off excess oil. For additional protection, consider applying beeswax once the oil has settled.
Maintenance Tips for Your Cutting Board
To keep your cutting board in top condition, follow these maintenance tips:
- Clean Immediately: After usage, wash with warm soapy water and avoid soaking.
- Dry Properly: Ensure it dries completely to prevent warping.
- Reapply Oil Regularly: Maintain the finish by reapplying mineral oil every few weeks or as needed.
For additional tips on cleaning wooden cutting boards, refer to Cleaning Wooden Cutting Boards.
Common FAQs About Cutting Boards
1. Can I use any type of wood for cutting boards?
It's best to choose hardwoods like maple, walnut, or cherry. Avoid soft woods like pine.
2. Why is it important to maintain a wooden cutting board?
Proper maintenance ensures longevity, keeps it sanitary, and retains its aesthetic appeal.
3. How often should I oil my cutting board?
Reapply food-safe mineral oil every few weeks or whenever the wood looks dry.
Conclusion
Crafting your own cutting board is a fulfilling project that combines creativity with functionality. By learning how to make a cutting board with different woods, you not only gain a beautiful kitchen essential but also a conversation piece among your culinary peers.
Dont forget that using quality woods and proper maintenance can make all the difference. Start your project today, and enjoy the process of crafting your masterpiece.
As an Amazon Associate, I earn from qualifying purchases.
