Have you ever wondered how to make a butcher block cutting board? If you're a Kitchen Professional or just someone who loves cooking, learning the art of creating a butcher block can be a remarkable addition to your skills. A butcher block cutting board is not just an accessory; it is a necessity that can elevate your cooking game to an entirely new level.
In this article, we will provide you with an exclusive, life-changing complete guide on how to make a butcher block cutting board. With our step-by-step instructions and tips, you will be equipped to create your own butcher block that not only looks stunning but also performs exceptionally well in the kitchen.
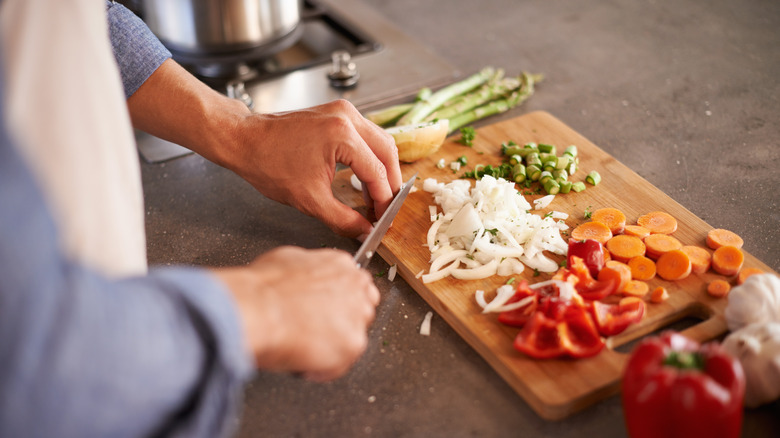
Why Choose a Butcher Block Cutting Board?
Before diving into the procedure, lets discuss why a butcher block cutting board is worth your time and effort. It offers numerous benefits, such as:
- Durability: Butcher blocks made from hardwood are incredibly durable and can last a lifetime.
- Self-Healing: These boards have the capacity to 'self-heal,' meaning they can close up small cuts and marks, which keeps them looking good.
- Knife Friendly: Unlike plastic boards, wood cutting boards are gentle on your knife edges.
- Aesthetic Appeal: A beautifully crafted butcher block adds warmth and charm to any kitchen.
Materials Needed for Making a Butcher Block Cutting Board
Before you embark on this journey, gather the necessary materials:
- Wood Blocks: Maple, walnut, or cherry are excellent choices.
- Titebond III Wood Glue: This waterproof glue is perfect for holding the blocks together.
- Clamps: For securing the glued pieces.
- Sandpaper: Various grits for smoothing surfaces.
- Finish: Food-safe mineral oil or a similar product.
- Square and Measuring Tape: For accuracy.
Step-by-Step Process for Making Your Butcher Block
Now, well guide you through the process of how to make a butcher block cutting board. It may seem daunting initially, but once you get the hang of it, it's quite straightforward!
Step 1: Selecting Your Wood
Choose the type of wood you want to use for your butcher block. Maple is a common choice due to its hardness and resistance to scratches.
Step 2: Preparing the Wood Blocks
Measure and cut your wood blocks into uniform sizes. This can be achieved using a table saw or a miter saw.
Step 3: Gluing the Blocks Together
Apply a generous amount of Titebond III wood glue on the edges of the blocks. Carefully align them and clamp them tightly together. Allow the glue to dry for at least 24 hours.
Step 4: Sanding and Smoothing
Once the glue has dried, use sandpaper to smooth out the surfaces. Start with a coarse grit and gradually move to a finer grind for a smooth finish.
Step 5: Applying Finish
Wipe down the board with a damp cloth and apply a food-safe mineral oil. This will protect the wood and prevent it from cracking.
Maintenance Tips for Your Butcher Block
Once you have made your butcher block, maintaining it is crucial for its longevity. Some essential tips include:
- Regularly apply mineral oil to keep the wood hydrated.
- Wash with warm soapy water and never submerge it in water.
- For stubborn odors, refer to this article on removing smells.
Common Mistakes to Avoid
While making your butcher block, you may encounter a few common pitfalls:
- Using Improper Glue: Always opt for a waterproof wood glue suited for kitchen use.
- Skipping Sanding: A rough surface can damage your knives.
- Neglecting Maintenance: Regular care is essential for the longevity of your board.

Frequently Asked Questions
1. Can I use any type of wood for my butcher block?
Some woods are better suited for butcher blocks, such as maple, walnut, or cherry. It's best to avoid softer woods that can easily scratch.
2. How often should I oil my butcher block cutting board?
A good rule of thumb is to oil your butcher block every month, or every two weeks if it's used frequently.
3. Is it safe to chop raw meat on my butcher block?
Yes, but it is crucial to follow proper cleaning protocols. Refer to this article on cleaning wooden boards after use.
As an Amazon Associate, I earn from qualifying purchases.
As an Amazon Associate, I earn from qualifying purchases.
