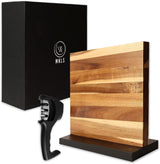
How to Install a Knife Rack in Your Kitchen
Welcome to our comprehensive guide on installing a knife rack in your kitchen! If you're a kitchen enthusiast who loves to cook, having a well-organized and easily accessible set of knives is essential. A knife rack not only keeps your knives within arm's reach but also helps to protect their sharp edges and maintain their longevity. In this article, we'll walk you through the step-by-step process of installing a knife rack in your kitchen, ensuring that you have a safe and efficient storage solution for your valuable kitchen tools.
Why Install a Knife Rack?
Before we dive into the installation process, let's first understand why installing a knife rack is beneficial. Here are a few key reasons:
- Organizational Efficiency: A knife rack helps to declutter your kitchen countertop and drawers, providing a dedicated space for your knives.
- Easy Accessibility: With a knife rack, you can easily locate and access the knife you need while cooking, saving you time and effort.
- Knife Safety: Storing knives in a rack keeps them safely out of reach of children and prevents accidents caused by loose knives in drawers.
- Knife Maintenance: Properly storing your knives on a rack helps to protect their sharpness and prevent damage to their blades.
Step-by-Step Guide to Installing a Knife Rack
Step 1: Choose the Right Knife Rack
The first step in installing a knife rack is selecting the right one for your kitchen. Consider the following factors:
- Size: Measure the available space in your kitchen to ensure that the knife rack fits comfortably.
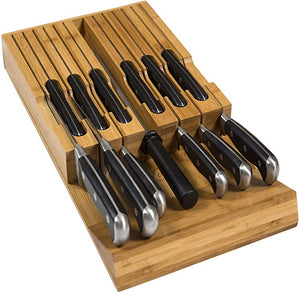
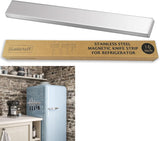
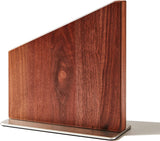
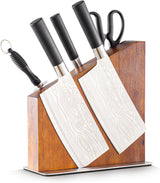
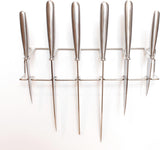
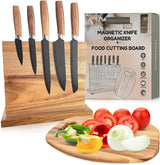
- Material: Knife racks are available in various materials such as wood, stainless steel, and magnetic strips. Choose one that suits your kitchen's aesthetic and your personal preference.
- Capacity: Determine the number of knives you need to store and choose a knife rack with sufficient slots or magnetic strength to accommodate them.
Once you have chosen the appropriate knife rack, it's time to move on to the installation process.
Step 2: Prepare the Installation Area
Clean the area where you plan to install the knife rack. Remove any dust, grease, or debris that may interfere with the installation. Ensure that the surface is dry and smooth for a secure attachment.
Step 3: Mark the Mounting Points
Using a pencil or marker, mark the mounting points on the wall or cabinet where you want to install the knife rack. Make sure the marks are level and evenly spaced.
Step 4: Drill Pilot Holes
Using an appropriate drill bit, drill pilot holes at the marked mounting points. The size of the drill bit should match the size of the screws or anchors provided with the knife rack.
Step 5: Attach the Knife Rack
Align the knife rack with the pilot holes and attach it securely using the screws or anchors provided. Make sure the knife rack is level and stable.
Step 6: Test the Stability
Gently tug on the knife rack to ensure that it is securely attached to the wall or cabinet. If there is any wobbling or instability, recheck the screws or anchors and make necessary adjustments.
Step 7: Arrange Your Knives
Once the knife rack is installed, arrange your knives on it. Make sure the blades are facing upward and securely inserted into the slots or attached to the magnetic strip. Avoid overcrowding the rack to prevent accidents and damage to the knives.
Conclusion
Installing a knife rack in your kitchen is a simple yet effective way to organize your knives and ensure easy accessibility while cooking. By following the step-by-step guide provided in this article, you can safely and securely install a knife rack in your kitchen and enjoy the benefits of a well-organized and efficient cooking space. So, go ahead and enhance your kitchen's functionality with a knife rack!
