Creating a chef knife is one of the most satisfying and rewarding tasks for kitchen enthusiasts and hobbyists. Whether you're a seasoned blacksmith or a beginner, forging your own chef knife combines art, technique, and functionality. This article will take you through the **craft** of how to forge a chef knife, ensuring you create a masterpiece you can be proud of.

What You Need to Know Before You Start
Before embarking on the journey of knife forging, it's important to understand the basics. Knowing the materials and tools required will set a firm foundation for your knife-making project. For an overview of various essential kitchen knives, check out our [types of knives](https://knives.shop/blogs/kitchen-knives/discover-the-different-types-of-knives-in-the-blue-professional-kitchen-knife-chef-set) guide.
Understanding Steel Grades
Selecting the right steel is crucial. High carbon steel is preferred due to its strength and sharpness. Types like 1095, O1, and W2 are commonly used in forging chef knives. Each steel type has its benefits and requires specific techniques to manipulate properly.
Essential Tools and Equipment
- Forge: A gas or coal forge will provide the heat needed to shape the steel.
- Anvil: Provides a surface for hammering and shaping the knife.
- Hammer: A 3-4 pound hammer is ideal for shaping the metal.
- Quenching Tank: Used for cooling the blade after heating.
- Grinder: Critical for shaping and sharpening the blade.
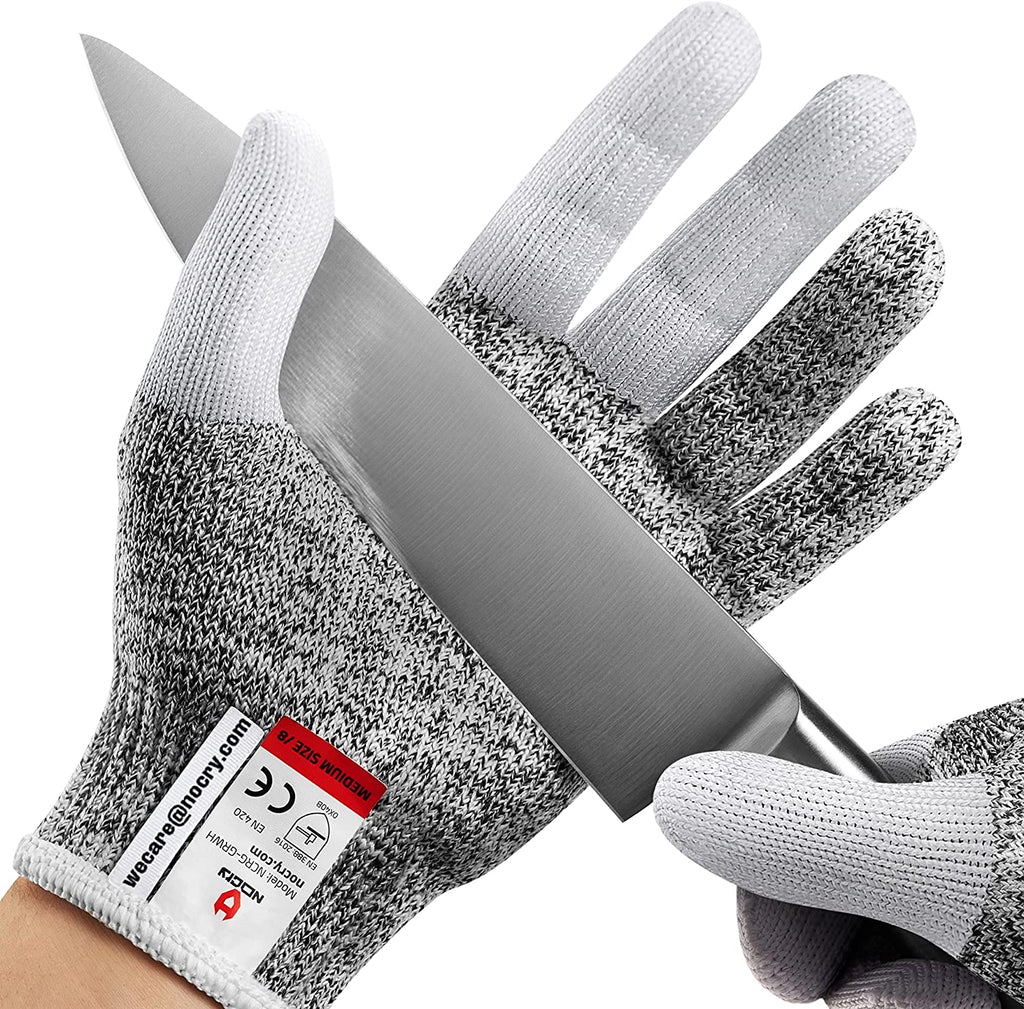
- Protective Gear: Gloves, apron, and eyewear to ensure safety.
The Forging Process
The process of making a chef knife involves several key steps, each requiring attention to detail and precision. From heating and hammering to quenching and shaping, let's delve into each stage. For more on ensuring your steak knives are perfect too, visit [best steak knives](https://knives.shop/blogs/kitchen-knives/the-best-steak-knives-for-a-perfect-dining-experience-1).
Step 1: Heating the Steel
Begin by heating the steel in the forge until it reaches a temperature between 1800F and 2000F. The steel should become a bright, cherry red color, indicating it's ready for hammering.
Step 2: Hammering and Shaping
Using a hammer, start shaping the steel on the anvil. Focus on forming the blade and tang of the knife. This step requires skill and patience as the metal will need to be repeatedly heated and hammered to achieve the desired shape. Ensure the thickness and contour of the blade meet your design specifications.
Step 3: Normalizing
After shaping, normalize the blade by heating it again and allowing it to cool slowly. This process refines the grain structure and reduces internal stresses within the steel, enhancing its overall durability.
Step 4: Quenching
Once normalized, heat the blade to a critical temperature (around 1500F) and then quench it in oil. This rapid cooling process hardens the steel. Be cautious during quenching to avoid warping or cracking the blade.
Step 5: Tempering
Tempering is a crucial step that involves reheating the blade to a lower temperature (between 400F and 500F) and allowing it to cool slowly. This process relieves the brittleness and ensures the knife has a good balance of hardness and flexibility.

Finishing Touches
Grinding and Sharpening
Use a grinder to refine the shape of the blade and establish a sharp edge. This step requires precision to ensure the blade is evenly ground and the edge is sharp and consistent. For more tips on sharpening, see [Astercook Knife Set](https://knives.shop/blogs/kitchen-knives/the-ultimate-guide-to-the-astercook-knife-set-everything-you-need-to-know).
Handle Construction
A well-crafted handle ensures the knife is comfortable to use. Materials like wood, micarta, or G10 are popular choices. The handle should be securely attached and ergonomically shaped to provide a good grip. To learn about some of the best handles, visit [Home Hero Knife Set](https://knives.shop/blogs/kitchen-knives/unleash-your-culinary-skills-with-the-new-home-hero-17-pcs-kitchen-knife-set).
Conclusion
Forging a chef knife is a blend of artistry and skill. By following these steps and understanding the fundamental aspects of the process, you can create a chef knife that is not only a culinary tool but also a work of art. For more insights into the benefits of a quality chef knife, read [Wusthof Classic Knife](https://knives.shop/blogs/kitchen-knives/unlocking-the-culinary-world-the-benefits-of-using-the-wusthof-classic-8-chefs-knife).
FAQs
Q: How long does it take to forge a chef knife?
A: The time required can vary, but typically, it takes anywhere from 10 to 20 hours spread over a few days, depending on your expertise.
Q: Is knife forging safe for beginners?
A: Yes, but appropriate safety measures, including protective gear and proper training, are essential to prevent injuries.
Q: Can I forge a knife without professional equipment?
A: While professional equipment makes the process easier and more efficient, creative alternatives and basic tools can still achieve reasonable results.
As an Amazon Associate, I earn from qualifying purchases.
For more detailed information on knife forging, visit Bladesmiths Forum or for additional fundamental kitchen knife uses, check out this guide on paring knives.
