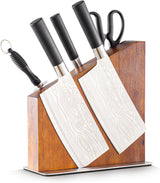
If you love DIY projects and find joy in simple yet engaging activities, learning how to cut soap with a knife can be an excellent new hobby. The simple act of slicing through soap with a knife can be incredibly satisfying and is a fantastic way to engage your creativity.
Whether you are doing it for aesthetic reasons or to craft custom soap bars, mastering this skill can bring a touch of art into your daily life.

The Basics of Cutting Soap
Soap cutting may seem straightforward, but it actually requires specific techniques to achieve the perfect cut. Before diving into the various methods, it's essential to understand the types of soap and knives that work best for this activity.
Choosing the Right Soap
The first step is to select the right soap. Harder soaps are easier to cut cleanly, while softer soaps may require extra care.
- Glycerin-based soaps: These are relatively soft and melt easily, making them great for beginners.
- Cold process soaps: These are harder and give a satisfying crunch when cut.
- Melt and pour soaps: These are somewhere in between and provide a smooth cutting experience.
Selecting Your Knife
The next step is choosing a suitable knife. The type of knife you use will significantly impact your soap cutting experience.
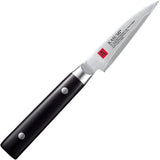
- Straight edge knife: Ideal for clean cuts.
- Serrated knife: Useful for textured looks.
- Utility knife: Good for detailed work.
Step-by-Step Guide to Cutting Soap with a Knife
Now that you've got your soap and knife, it's time to dive into the cutting process. Follow these simple steps to achieve the perfect soap slice.
Prepare Your Workspace
Make sure your workspace is clean and clear of any debris. Lay down a cutting board to protect your surfaces.
Mark Your Cuts
Using a ruler and a non-toxic marker, draw lines on the soap where you intend to make your cuts. This will help ensure uniform size and shape.
Heat the Knife
For a cleaner cut, heat the knife by running it under hot water or warming it over a flame. Be careful not to overheat it.
Make the Cuts
Holding the knife firmly, follow the marked lines to make slow, deliberate cuts. Let the weight of the knife do most of the work.
Smooth the Edges
After cutting, smooth any rough edges with a piece of sandpaper or your fingers.

Common Mistakes to Avoid
To ensure your soap cutting process goes smoothly, here are some common mistakes to avoid:
- Using a dull knife: This will not only make cutting more difficult but can also cause uneven edges.
- Applying too much pressure: Let the knife do the work. Excessive force can result in mishaps.
- Not marking your cuts: Eyeballing it may seem quicker, but it often leads to inconsistent slices.
Advanced Techniques for Experienced Soap Cutters
If you're already comfortable with basic soap cutting, you might want to try more advanced techniques. Here are a few to consider:
- Etching designs: Use a utility knife or carving tools to etch intricate designs into the soap surface.
- Layered soaps: Stack different colored soaps and cut them together for a layered effect.
- Inlays: Insert smaller pieces of soap into larger bars for a unique design.
Cleaning and Maintenance
Proper cleaning and maintenance of your tools are crucial for long-lasting performance.
- Cleaning: Always wash your knife and cutting board with warm soapy water after each use.
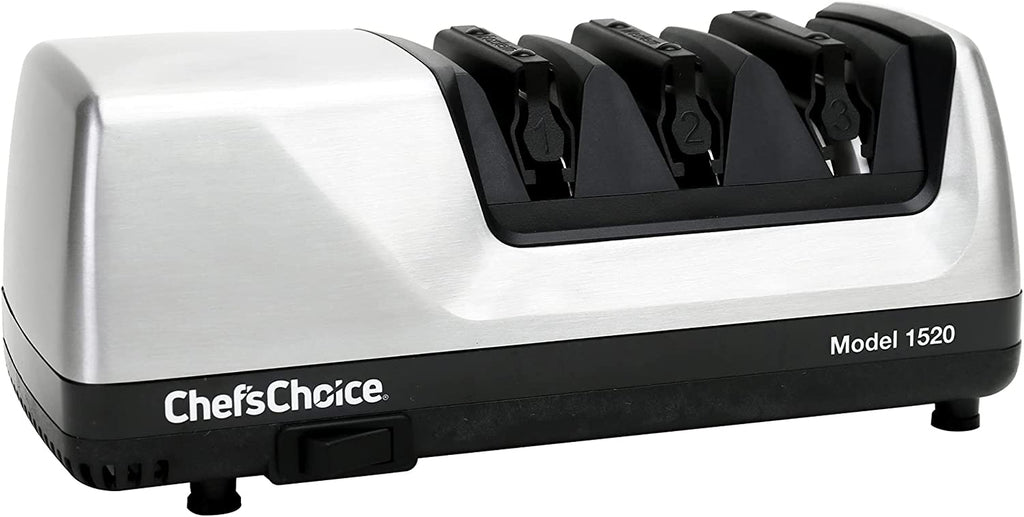
- Sharpening: Regularly sharpen your knife to maintain its efficiency.
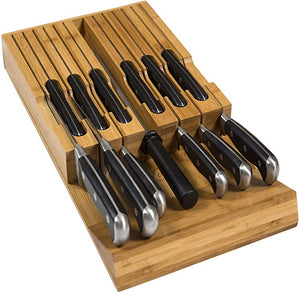
- Storing: Store your knife properly to prevent it from dulling or rusting.
FAQs
Can I use any knife to cut soap?
It's best to use a sharp, straight-edge knife for clean cuts. A serrated knife can be used for textured designs.
Do I need to heat the knife before cutting?
Heating the knife can help achieve a smoother cut, but it's not strictly necessary.
What type of soap is easiest to cut?
Glycerin-based and melt-and-pour soaps are generally easier to cut than cold process soaps.
In conclusion, knowing how to cut soap with a knife can be a rewarding skill that adds a new layer of enjoyment to your DIY projects. With the right tools and techniques, you can create beautifully cut soap bars that are both practical and aesthetically pleasing.
As an Amazon Associate, I earn from qualifying purchases.
For more information on DIY soap projects, check out Soap Queen for tutorials and tips.
