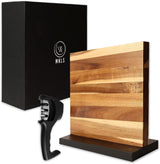
Building an end grain cutting board is a rewarding project that will elevate your kitchen experience. Not only does it provide a beautiful surface for food preparation, but an end grain cutting board is also renowned for its durability and resistance to knife marks. This guide will walk you through the entire process of how to build end grain cutting board, ensuring quality results even if you're a kitchen professional honing your craft.
As you delve deeper into this project, you'll discover tips and techniques that will enhance your woodworking skills. This article aims to prepare you with everything you need to know, from material selection to finishing touches.
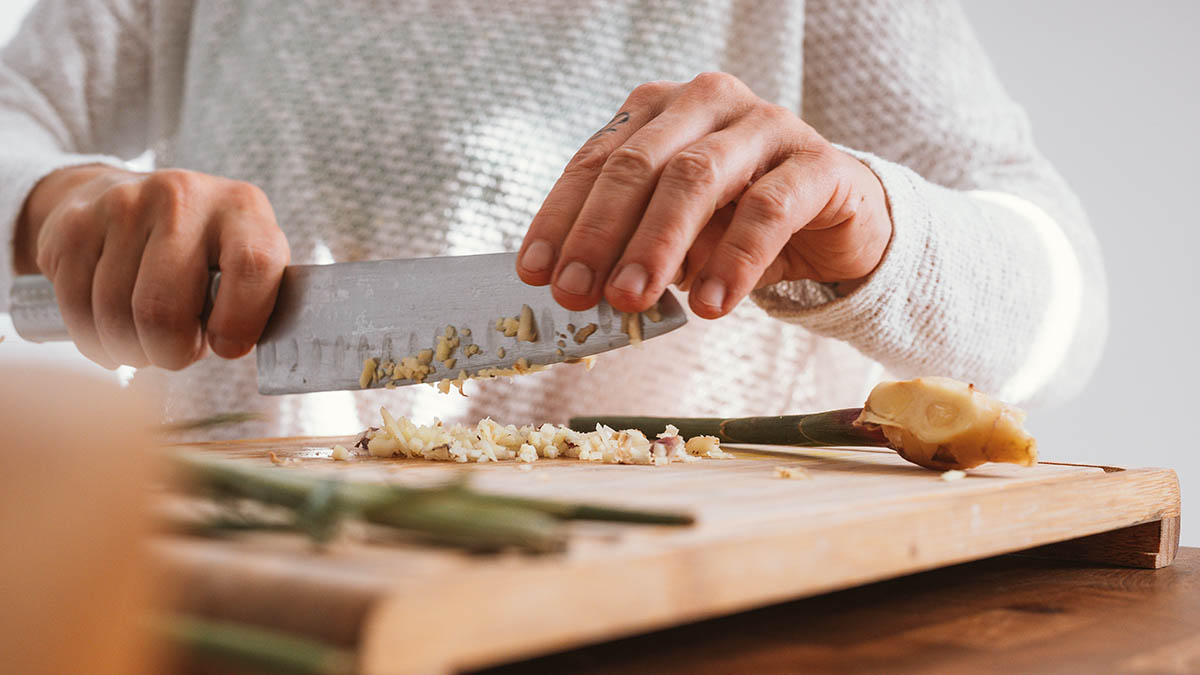
Understanding End Grain vs. Edge Grain
Before we start, its essential to understand the two primary types of cutting boards end grain and edge grain. An end grain cutting board is created by laying the wood so that the ends of the wood fibers are facing up. This design allows the fibers to absorb cuts from knives, which makes it more forgiving and less likely to show scratches.
Benefits of Building an End Grain Cutting Board
Among the many benefits of an end grain cutting board:
- Durability: The structure of the board allows for better resilience against cuts, minimizing wear and tear.
- Self-Healing: The fibers close back together after cuts, maintaining the board's integrity.
- Knife-Friendly: End grain boards are gentler on knives compared to plastic or glass surfaces.
Materials Needed for Your End Grain Cutting Board
Choosing the right materials is crucial. You'll need hardwoods that are known for their strength and durability. Some popular choices include:
- Maple: A classic choice, maple offers light colors and a fine texture.
- Walnut: Known for its rich color, walnut adds warmth and style.
- Cherry: This wood darkens with age, providing an elegant look.
In addition to wood, you'll need: Wood glue, clamps, a saw (table saw or miter saw), sandpaper, and a finish (such as mineral oil).
Step-by-Step Guide on How to Build End Grain Cutting Board
Step 1: Gather Your Materials
Check your supplies to ensure you have everything youll need. This preparation is key in keeping the workflow efficient.
Step 2: Cutting the Wood
Start by cutting your wood into strips. The dimensions can vary, but a common size is 1.5 inches wide. Its important to ensure all pieces are of uniform thickness for a better bond.
Step 3: Arranging the Strips
Lay out the strips in the order you prefer on a flat surface. The arrangement could be a simple pattern or a creative design based on the different colors of wood.
Step 4: Glueing and Clamping
Once you're satisfied with the layout, apply wood glue on the edges of the strips and clamp them together. Make sure to wipe away excess glue to ensure a clean finish.
Step 5: Planing the Surface
After the glue has dried, use a planer to create a flat and even surface on top. This step is key to achieving a smooth cutting board.
Step 6: Sanding
Use varying grits of sandpaperfrom rough to fineto smooth out the surface. This step is crucial as it will influence the texture of the board. For more information on sandpaper selection, check out this link on sandpaper for cutting boards.
Step 7: Applying Finish
Finish your cutting board by applying a food-safe finish, such as mineral oil or beeswax. This will protect the wood and promote its longevity.
Care and Maintenance of Your End Grain Cutting Board
To keep your board looking beautiful and functioning effectively, consider these tips:
- Regular Oiling: Apply oil every few months to maintain the wood.
- Cleaning: Use warm soapy water to clean. Avoid soaking or putting it in the dishwasher. For cleaning tips, you can visit this link for further guidance: cleaning wooden cutting boards.
-
Avoid Cross-Contamination: Ensure separate boards for meat and vegetables.
For safety tips, check cutting board safety.
Common Mistakes to Avoid
When embarking on this project, be mindful of common pitfalls:
- Rushing the Glue Drying: Always allow adequate drying time for a firm hold.
- Inconsistent Sizing: Ensure all wood strips are cut uniformly for a smoother finish.
- Neglecting Maintenance: A well-maintained board will last longer.
FAQs About Building an End Grain Cutting Board
1. Can I use softwood for an end grain cutting board?
While it is possible, it is not recommended because softwoods are generally less durable and more prone to warping or scratching.
2. What is the best finish for a cutting board?
A food-grade mineral oil or beeswax is ideal as it is safe, non-toxic, and provides great protection.
3. How often should I oil my cutting board?
You should oil your cutting board every few months, or whenever the wood looks dry.
As an Amazon Associate, I earn from qualifying purchases.
